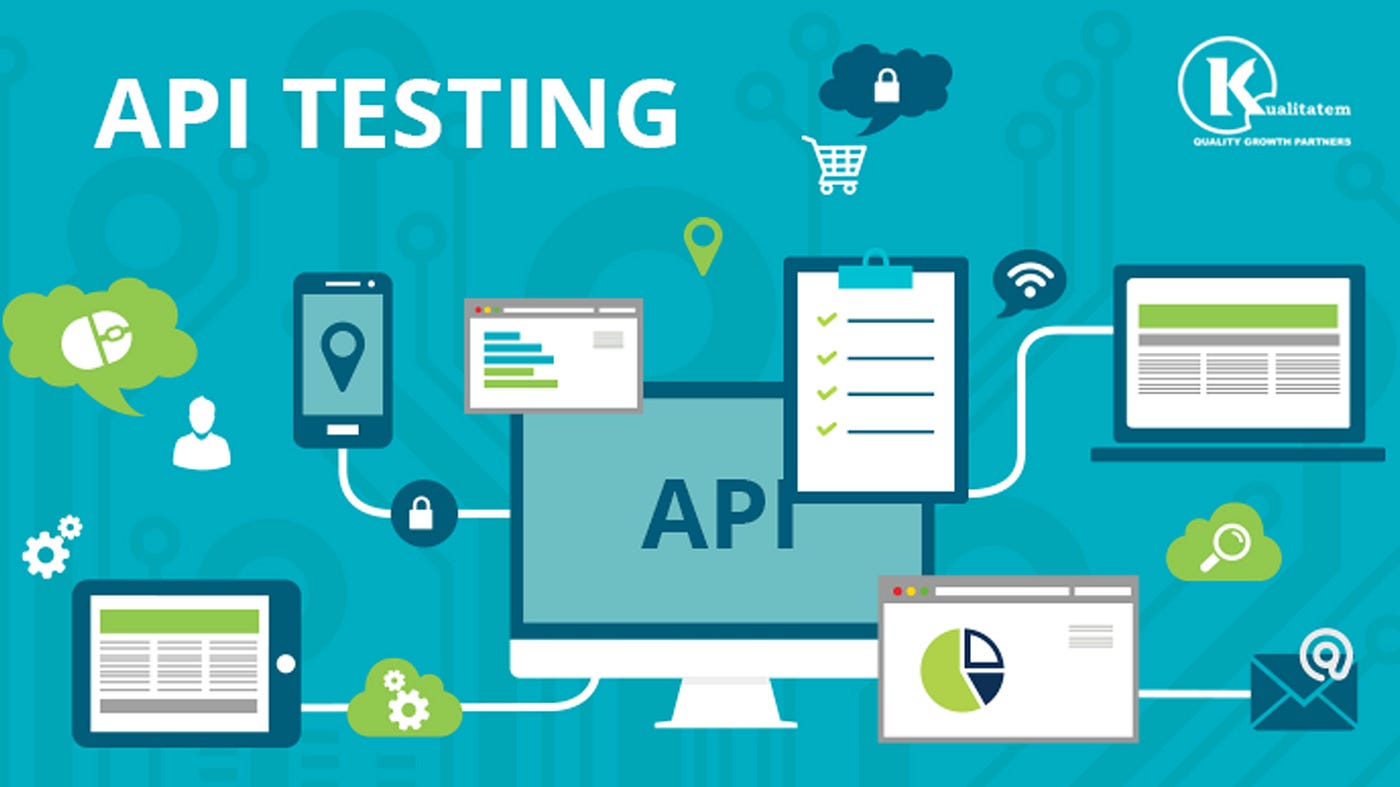
API testing with Robot Framework (part 1)
If you’re just like me, and doesn’t listen to what other people say regarding only using Robot Framework with Selenium and for UI tests, and wish to use this amazing tool to write automated API tests, then you’ve come to the right place.
I’ll cut straight to the point of actually showing what is necessary to use Robot Framework for API testing, instead of giving a obnoxious motivational speech about everything that surrounds this choice.
Installation
I’m also going to skip the part that I explain what is Robot Framework, how to install it, how to use and everything else. I’m assuming that if you are reading this, you already know what you’re doing and what you want to do from now on. Also, there’s plenty of very straight forward material about that.
I did have though some difficulty in finding a tutorial on how to use Robot Framework for API testing, so this is what I’m going to present.
The first thing you need is to install Robot Framework’s requests library.
pip install robotframework-requests
The Robot Framework requests library
This library, as any other Robot Framework library, already has a lot of ready to use keywords that you will need for writing your own keywords and test cases. It’s always possible to create more customized routines, but at least for me, that was only necessary for wrapping the requests library’s methods around my personal needs.
Before evoking the HTTP methods (i.e. GET, POST, PUT, DELETE), this library requires to create a session. This session will be used to make all the requests to your API. You’ll need one session for each API, but you can use the same session for multiple endpoints of the same API.
Here I’m using a generic “my_session” name for the session I’m creating. You can use anything that fits your needs.
Setting the request’s headers
For setting the headers for your request, you will need to do so by using a dictionary structure.
(Notice that with Robot Framework, even though the dictionary structure is accessed with &, for creating the variable we use $.)
You can do that in two different ways. In the Variables section or inside a Test Case or Keyword definition. (I chose to name my Suite Variables with UPPERCASE, and my test case or keyword variables with LOWERCASE, but you can do whatever you want). Also, the code above is just a mere example. In your tests you will use the headers that your application requires from you to use.
Sending the requests
All right, this is what everyone’s here for! Let’s finally send requests to our API!
Here’s a GET request example:
Notice that when calling the “Get Request” keyword, we need to use the session that we created on the previous step, and now we specify the endpoint that we’re trying to reach. In this example, we perform a simple GET request on an endpoint, without passing any parameters. We’ll cover that on the upcoming sessions.
We now start to see how easy and straight forward Robot Framework really is. There are indeed some elements that the person writing and reading must get familiar with (such as the syntax for variables and the tabular indentation), but it is still really simple to understand what is being done.
Let’s do a POST request now!
Now, when it comes to passing parameters to our request, we have the options of using “params” or “data”. They’re pretty much similar, and both accept key-value dictionaries as input. The data passed via “data” will be embedded into the request’s body, while data passed via“params” will be embedded into the request’s URL. Which one to use will depend solely on how is your API implemented.
Validating
Last but not least, we now need to validate our API’s response. If you’re already familiar with the triple-A test writing pattern, this is our last step: Assertion.
There are a lot of things that you might want to validate on your API’s response: body content, status code, headers, error message, and so on.
This is a typical “send a GET request and assert that it returns a 200-OK” scenario. With this in hands, you can expand your test cases to cover the scenarios that you designed.
On the next post, I’ll talk a bit more about about test case and keywords organization, how to avoid repetitions on the code, and how to make your test cases much more legible and easy to understand.
I hope you’ve enjoyed, and if you have questions, leave them in the comments session and I’ll do my best to address them.